2013 Nissan Altima Speaker Sizes and Audio System Guide
2013 Nissan Altima Speaker Sizes and Audio System Guide
Save this audio guide to your Ownery garage
This page covers the factory speaker layout and upgrade considerations for the 2013 Nissan Altima. Equipment varies by trim, body style, and audio package, so speaker count and factory audio features can differ across the lineup. Use the fitment details here to identify the likely speaker locations and note where optional equipment may change the system before choosing replacement speakers or planning an upgrade.
Data verified by Nick Marchenko, PhD
Speaker Size Chart – 2013 Nissan Altima
Use this table as the main reference. Fitment depends on trim, factory audio package, mounting depth, and adapter availability.
| Location | Type | Factory Size | Note |
|---|---|---|---|
| Rear Deck Corner | Tweeter | 3.5 inch | if equipped |
| Rear Deck Corner | Full-Range | 6 x 9 inch | |
| Front Door | Full-Range | 6.5 inch | |
| Dash Corner | Center Channel | 3.5 inch | if equipped |
| Dash Corner | Tweeter | 3.5 inch | if equipped |
| Rear Door | Full-Range | 6.5 inch |
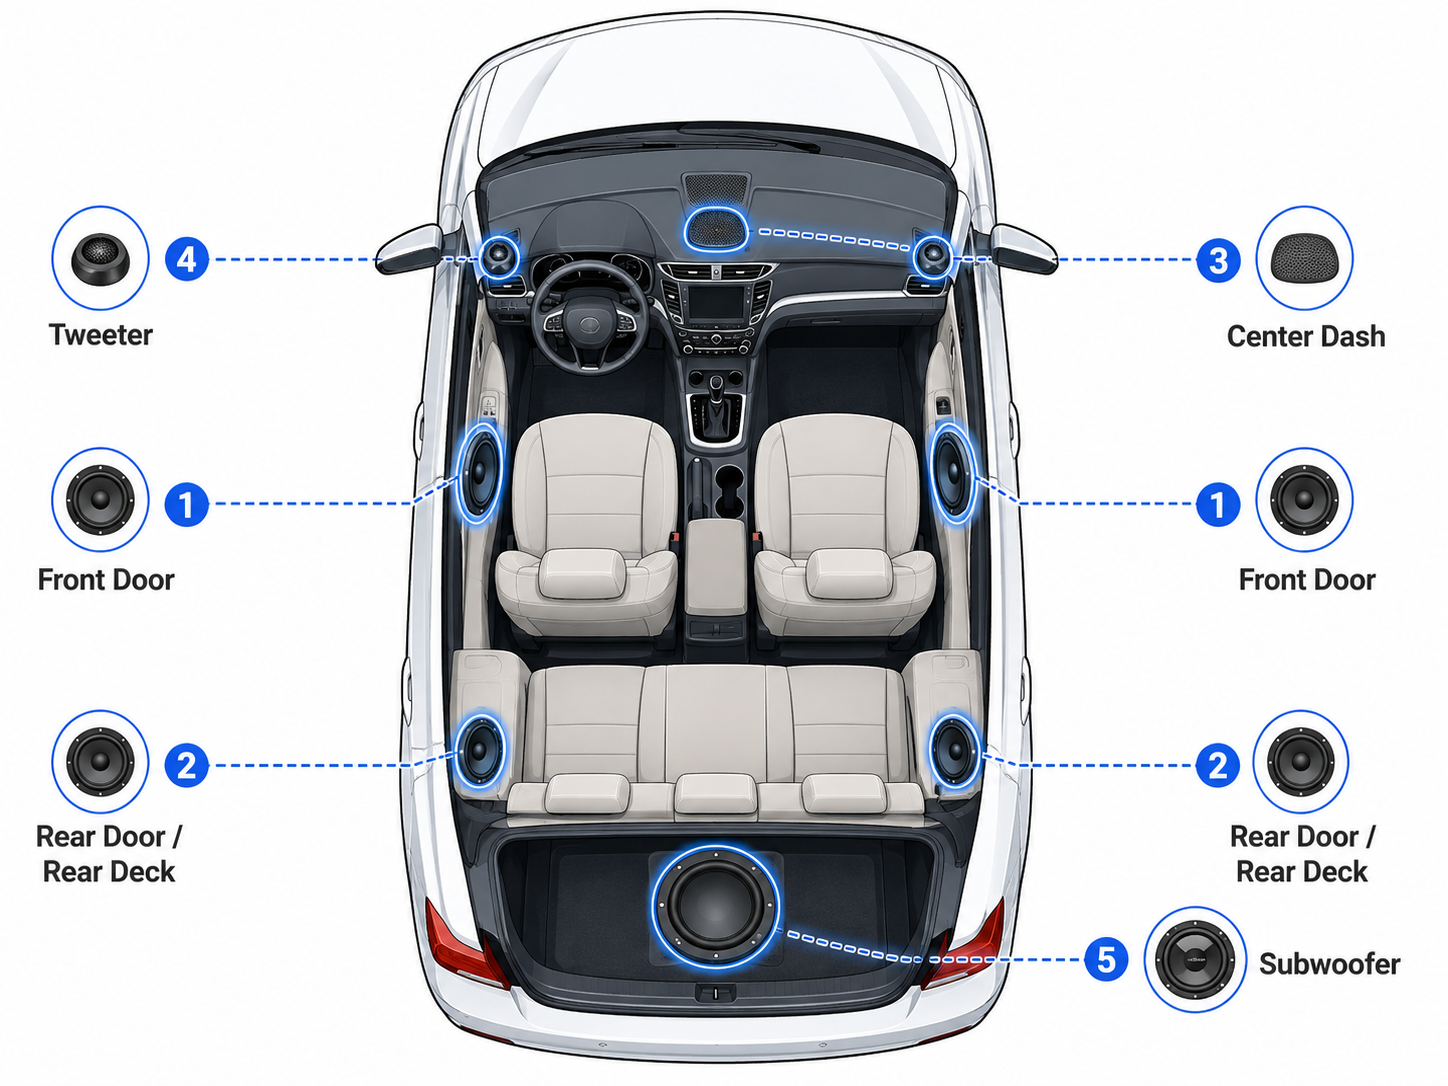
Generic speaker location diagram. The table above shows the specific factory sizes for this vehicle. Exact location details may vary by body style and trim.
Recommended Speakers for the 2013 Nissan Altima
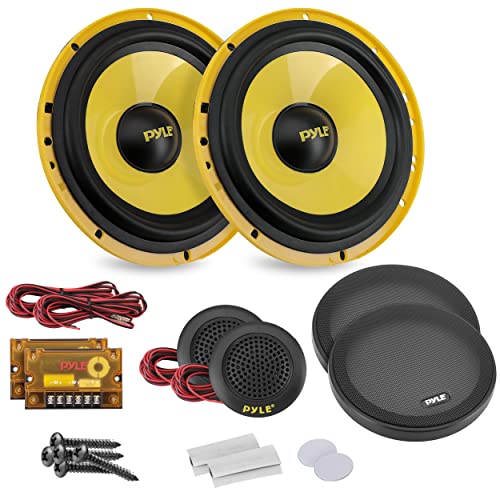
Selected aftermarket speakers that match the factory sizes for this vehicle. Always verify mounting depth, connector type, and audio package before ordering.
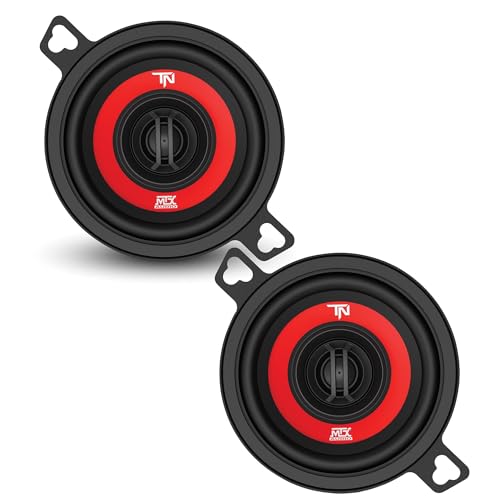
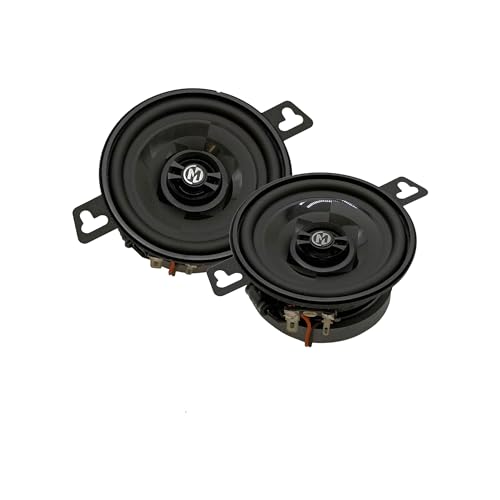
3.5" Speakers

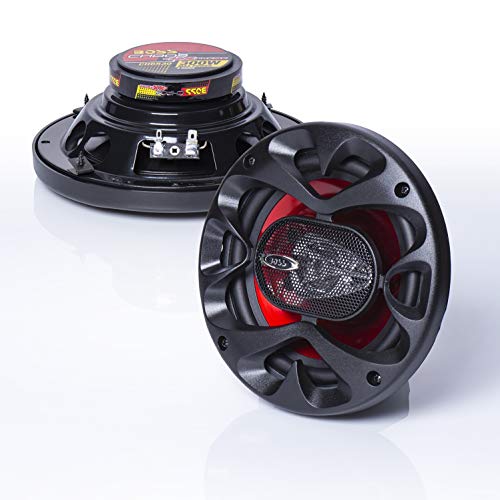
6.5" Speakers

Disclosure: Product links are affiliate links. We may earn a commission at no extra cost to you.
Speaker Count by Trim – 2013 Nissan Altima
Speaker count and audio equipment vary by trim and factory audio package. This table lists known configurations from our database.
| Trim | Speakers | Amplifier | Radio | Navigation |
|---|---|---|---|---|
| 2.5 SL 4dr Sedan | 9 | std | – | – |
| 2.5 SL 4dr Sedan | 9 | std | – | – |
| 3.5 SL 4dr Sedan | 9 | std | – | – |
| 2.5 S 2dr Coupe | 6 | opt | – | – |
| 2.5 S 4dr Sedan | 6 | – | – | – |
| 2.5 SV 4dr Sedan | 6 | – | – | – |
| 3.5 S 4dr Sedan | 6 | – | – | – |
| 3.5 SV 4dr Sedan | 6 | – | – | – |
| 2.5 4dr Sedan | 4 | – | – | – |
Data sourced from manufacturer specifications. Verify with the window sticker or dealer before ordering audio components.
Vehicle and Audio System Specifications
This block helps identify the vehicle and its audio system configuration for fitment decisions.
Coupe vs Sedan – Audio Differences
Body style can affect rear speaker placement, speaker count, and factory audio package options on this Altima, so equipment should be checked by VIN or trim. Some versions may include optional tweeters or a center channel, while factory amplifier details should be verified by trim and audio package.
What Speakers Fit the 2013 Nissan Altima?
Aftermarket fitment should start with the factory speaker locations listed for this 2013 Nissan Altima, but diameter alone is not enough. Check mounting depth, bracket fit, connector type, and whether the vehicle has a premium or factory-amplified audio system. Speaker layouts can vary by trim, and some locations are only present if equipped. The listed factory sizes give you a strong starting point, but the final match depends on the exact audio package in the car.
Usually Safe Upgrades
- If your vehicle uses the front door 6.5 inch location, that is the main upgrade point for many aftermarket full-range speakers.
- If your vehicle uses the rear door 6.5 inch location, you can also shop for replacement full-range speakers in that size.
- If your vehicle uses the rear deck corner 6 x 9 inch location, that size is another common replacement option.
- If your vehicle uses the 3.5 inch dash corner or rear deck corner locations, look for speakers that match those openings only if equipped.
- If your vehicle uses the optional center channel location, verify the exact opening before choosing a replacement speaker.
Check Before Buying
- Confirm the trim and audio package before ordering, since speaker count ranges from 4 to 9 and equipment can vary.
- Measure mounting depth and opening shape, not just diameter, because factory size alone does not guarantee fit.
- Check the connector style at each location so you know whether an adapter or wiring change is needed.
- Verify whether the car has the optional tweeter or center channel locations before buying speakers for those spots.
- Factory amplifier details should be verified by trim and audio package, since some trims use different audio setups.
Installation Notes
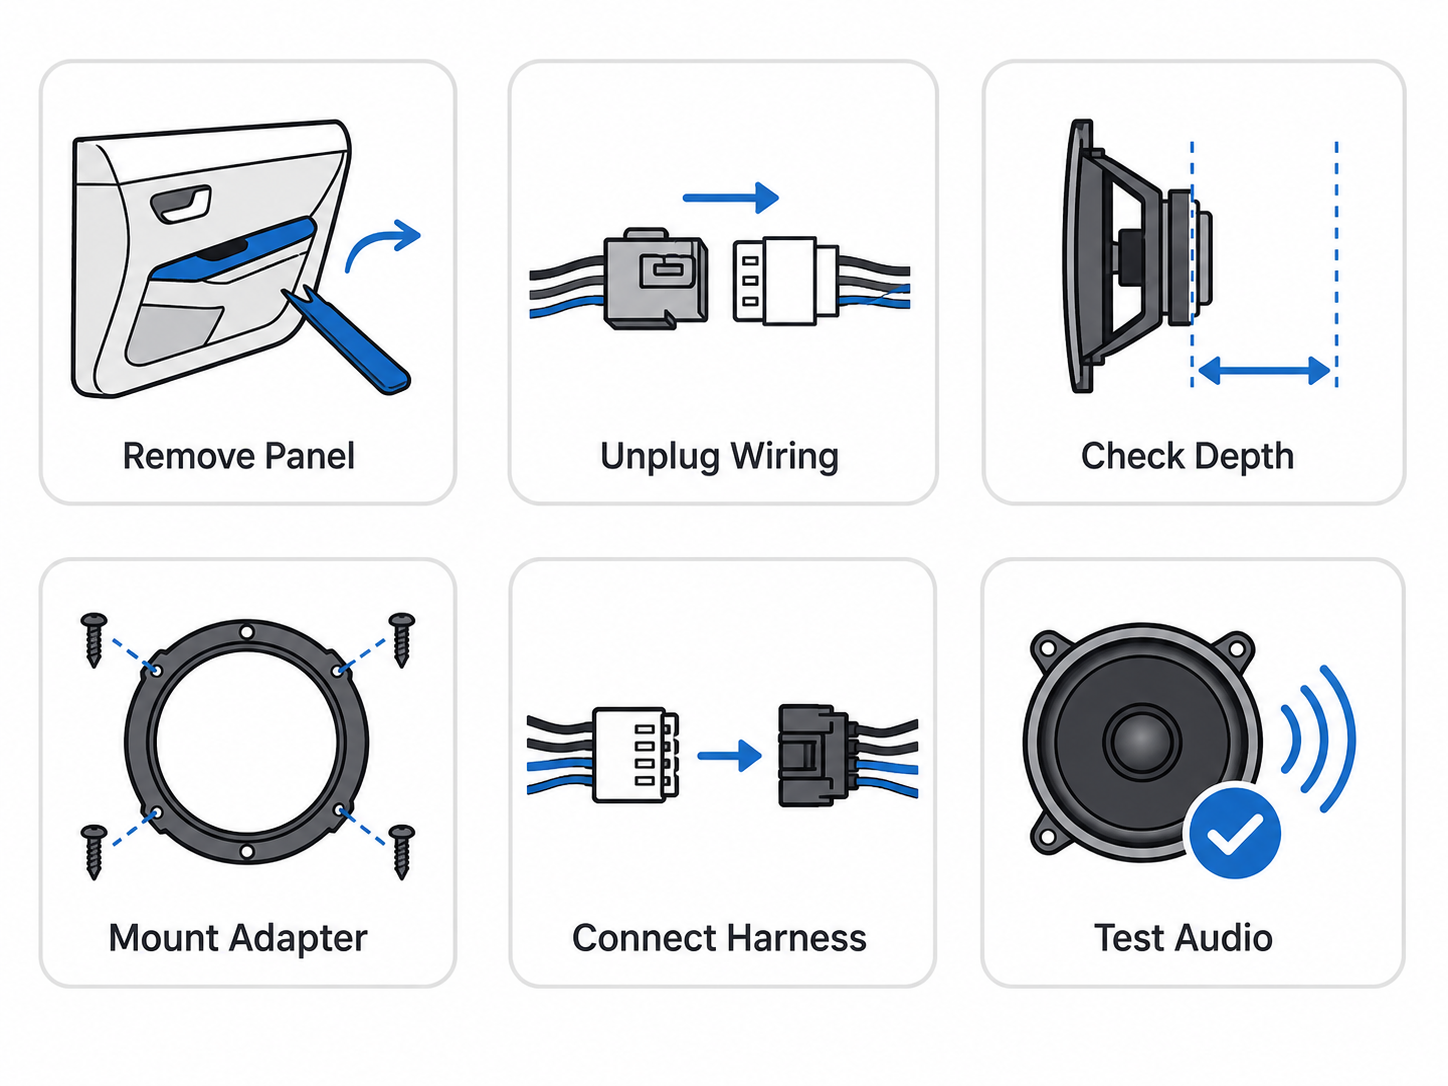
The 2013 Nissan Altima uses 4 to 9 speakers depending on trim and audio package, so it is important to verify the exact system before starting. Panel removal is required at the front doors, rear doors, and any dash or rear deck locations that apply to your vehicle. Use care when removing trim pieces and door panels so clips, wiring, and surrounding surfaces are not damaged. Speaker depth should be checked before ordering replacements, especially at the front door and rear deck locations. Mounting adapters may be needed to match the factory openings, and harness adapters can help keep the factory wiring intact. If your vehicle has the factory subwoofer, confirm enclosure fit and wiring before selecting replacement parts. Factory amplifier details should be verified by trim and audio package, since equipment can vary. After installation, test each speaker location one at a time to confirm balance, polarity, and proper operation before reassembling the panels.
This installation is moderately difficult because trim removal, fitment checks, and system verification are important before any speaker swap.
Common Mistakes When Replacing Speakers
The biggest mistakes with a 2013 Nissan Altima usually happen when buyers assume every car in the lineup uses the same audio setup.
- Buying based only on the body-style label instead of checking actual speaker locations on the vehicle. This Altima uses the same general speaker layout data across the model, but trim and audio package can still change what is installed.
- Ignoring trim and audio package differences before ordering parts. Speaker count ranges from 4 to 9, and factory amplifier details should be verified by trim and audio package because they are not universal.
- Assuming every car has the same tweeter or center-channel setup. Rear deck corner tweeters and dash corner tweeters or center channel pieces are listed as if equipped, so those locations should be confirmed before buying replacement parts.
- Skipping mounting depth and connector checks. Even when the speaker size matches, the opening, depth, and factory connector style still need to be verified so the replacement matches the vehicle’s hardware.
- Replacing speakers without testing the system first. It is better to confirm which speakers are active, whether the factory amplifier is present on that trim, and that each channel works before reassembly.
- Assuming a factory subwoofer is part of the standard setup. A subwoofer is not listed here, so it should only be planned for if the vehicle is equipped with one or if the audio package includes it.
Generation & Model Family
The 2013 Nissan Altima belongs to the Fifth generation (L33) (2013–2015) family. Nearby model years often share similar speaker locations and audio layouts, but exact fitment can vary by trim and audio package – verify before ordering.
Recommended Upgrade Path
The 2013 Nissan Altima offers a wide range of factory audio setups, so equipment can vary by trim and audio package. A smart upgrade plan starts with the most-used speakers and then builds toward bass, volume, or a cleaner factory-style result. Factory amplifier details should be verified by trim and audio package before changing the system.
| Goal | Best Upgrade Path | Why |
|---|---|---|
| Better clarity | Upgrade the front door speakers first, then add matching dash tweeters if equipped to improve the front stage. | This approach focuses on the speakers that shape vocals, detail, and stereo imaging, which usually gives the biggest improvement in clarity. |
| More bass | Add an aftermarket subwoofer to complement the factory speakers and fill in the low end. | A dedicated subwoofer gives the system more low-frequency output without asking the door speakers to handle bass they were not meant to produce. |
| Louder sound | Properly matched speakers and amplifier integration can improve volume and reduce distortion. Verify factory amp and premium system integration before adding aftermarket amplifiers. | Higher output works best when the speakers and amplification are matched correctly, and integration checks help avoid issues with factory audio equipment. |
| Budget improvement | Replace the front door speakers first with same-size replacement speakers and the correct mounting brackets. | The front doors handle the most everyday listening, so this is usually the most cost-effective way to improve sound quality quickly. |
| Factory look | Use same-size replacement speakers with the correct mounting brackets and harness adapters for a clean install that preserves the factory wiring and appearance. | This keeps the interior looking original while still allowing a speaker upgrade that blends in with the factory layout. |
Mounting Adapters and Wiring
The same nominal diameter does not guarantee a direct mount. Before ordering, confirm:
- Speaker depth: Aftermarket speakers often have larger magnets – measure available depth at each location.
- Mounting brackets: Door locations typically need a bracket or spacer to clear the window regulator and achieve correct mounting depth.
- Wiring harness adapters: Use a plug-and-play harness adapter to preserve factory wiring.
- Tweeter mounting cups: Replacing OEM tweeters may require surface-mount cups or brackets depending on the location.
- Factory or premium amplified systems: If the vehicle has a premium or factory-amplified audio system, confirm how the factory radio, amplifier, and speakers are connected before adding aftermarket amplifiers. Depending on the setup, a line output converter, DSP, integration harness, or professional installation may be needed.
- Connector type: Factory connectors vary by trim and model year – confirm compatibility before splicing or using an adapter.
Frequently Asked Questions
What size are the front door speakers in a 2013 Nissan Altima?
The front door speakers are 6.5 inches. Some audio setups may also include tweeters if equipped, so it is worth checking the trim and audio package before ordering parts.
What size are the rear speakers in a 2013 Nissan Altima?
The rear speaker size is 6 x 9 inches at the rear deck corner. Some systems may also include a rear deck tweeter if equipped.
Does the 2013 Nissan Altima have a factory subwoofer?
A factory subwoofer is not listed in the available data. If your car has an upgraded audio package, verify the equipment before choosing replacement parts.
Do I need mounting adapters for speaker replacement?
Mounting adapters may be needed depending on the speaker location and the replacement speaker you choose. Check the factory opening size and depth before buying new speakers.
Can I replace the speakers without replacing the radio?
Yes, speaker replacement can be done without replacing the radio. The best results depend on matching the new speakers to the factory system and any audio options already installed.
How can I verify the factory amplifier on a 2013 Nissan Altima?
Factory amplifier details should be verified by trim and audio package. Some trims list an amplifier, while others do not, so confirm your exact equipment before planning an upgrade.